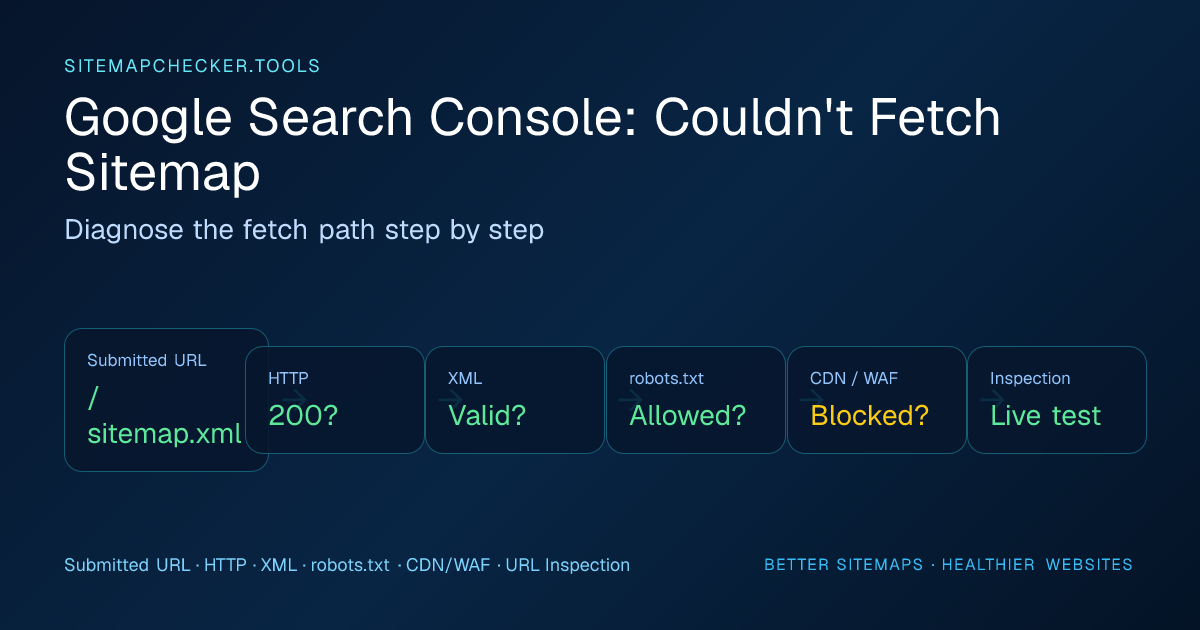
Search Console's Couldn't fetch status is frustrating because a sitemap can open normally in your browser while Google still reports a problem. The useful way to troubleshoot it is to separate three questions: Can your server return the file? Is the file a valid sitemap? Can Google fetch it under Google's own crawling conditions?
Run the Sitemap Checker first. It tests the first two questions from an independent server and gives you a concrete list of HTTP, XML, redirect, and URL-level problems. It cannot impersonate Googlebot or see your Search Console account, so Google URL Inspection remains the final check for Google-specific access.
What “Couldn't fetch” means in Search Console
Google's Sitemaps report defines Couldn't fetch as a case where the sitemap could not be retrieved. Google's help page lists several possible causes, including a sitemap blocked by robots.txt, a wrong sitemap URL such as a 404, server availability problems, an unresolved manual action, and low crawl demand.
That definition matters because a valid XML document is not enough. A validator may say your sitemap is well formed while the sitemap URL itself is unavailable to Google's crawler.
Recent Search Console community discussions also show why the label can be confusing in practice: Product Experts sometimes see “Couldn't fetch” while a sitemap has not yet been processed. That is why you should diagnose observable technical conditions first instead of assuming the status proves a specific server error.
1. Check the exact sitemap URL you submitted
Start with the URL shown in Search Console, not the URL you think you submitted.
Common mistakes include:
- submitting
/sitemap.xmlwhen the real file is/sitemap_index.xml; - submitting an old sitemap path after changing SEO plugins;
- mixing
http://andhttps://; - mixing
www.example.comandexample.com; - submitting a path that redirects to another sitemap URL;
- checking a different Search Console property from the one where the sitemap was submitted.
Open the exact URL, then run that exact URL through the checker. A clean setup should return a successful response directly and parse as either a sitemap URL set or a sitemap index.
2. Confirm the sitemap returns a usable HTTP response
A browser page that “looks fine” is not a complete HTTP test. Check the actual response status.
For the submitted sitemap URL, look for:
- HTTP 200 on the final sitemap;
- no authentication requirement;
- no challenge page from a CDN or firewall;
- no intermittent 5xx errors;
- no redirect loop;
- an XML body rather than an HTML error or security page.
If the sitemap redirects, submit the final sitemap URL directly when possible. Removing unnecessary redirects reduces ambiguity and makes your setup easier to test.
If the checker sometimes succeeds and sometimes fails, investigate hosting logs, serverless timeouts, CDN rules, rate limiting, and cache behavior. Intermittent failures are more difficult to diagnose than a consistent 404 because your own browser test may happen during a healthy request.
3. Validate the XML independently
Once the sitemap is fetchable, validate its structure.
A valid sitemap should use a supported sitemap format and contain valid sitemap elements. For XML sitemaps, common problems include malformed XML, invalid or relative URLs, invalid dates, incorrect sitemap-index entries, and oversized files.
Google's current documentation limits a single sitemap to 50,000 URLs or 50 MB uncompressed. Larger sites should split URLs across sitemap files and reference those files from a sitemap index.
Use the Sitemap Validator to separate XML problems from fetch problems. If the file cannot be parsed by a normal XML parser, fix that before focusing on Search Console behavior.
4. Check whether robots.txt blocks the sitemap
Google's Search Console documentation explicitly says Google respects robots.txt when fetching sitemaps.
Look at:
https://example.com/robots.txt
A Sitemap: line is useful for discovery, but the more important troubleshooting question is whether your crawler rules prevent Google from fetching the sitemap path.
Be careful with broad rules. A rule written for a directory can affect files under that directory even when you did not intend to block the sitemap.
SitemapChecker.tools can discover sitemap declarations in robots.txt, but it deliberately does not claim to reproduce Google's complete robots evaluation. Use Search Console's live URL test for the Google-specific answer.
5. Check CDN, firewall, bot protection, and hosting rules
If the sitemap is valid and returns 200 to ordinary clients but Google still cannot fetch it, infrastructure becomes the next suspect.
Review rules in services such as Cloudflare, hosting firewalls, WAFs, reverse proxies, rate limiters, and security plugins. Look for rules that:
- challenge automated requests;
- block unfamiliar user agents;
- block data-center IP ranges;
- require JavaScript or cookies;
- apply stricter limits to XML files;
- return a different response to bots than to browsers.
Do not “fix” this by broadly disabling security. Instead, use logs to identify what response Google receives and adjust the narrow rule causing the problem.
6. Use URL Inspection Live Test for the Google-specific check
This is the step third-party sitemap tools cannot replace.
Google's official troubleshooting flow says to copy the sitemap URL into URL Inspection, run the Live test, and inspect Page availability. The useful outcomes are:
- Crawl allowed? = Yes
- Page fetch = Successful
If the live test fails, its details are more actionable than repeatedly deleting and resubmitting the sitemap.
If the live test succeeds and your independent checks also pass, you have strong evidence that the sitemap itself is technically reachable. At that point, avoid making random XML changes solely because the top-level status has not updated immediately.
7. Do not confuse sitemap processing with page indexing
A successful sitemap submission does not guarantee that every listed page will be crawled or indexed. Google says sitemap-discovered URLs are queued for crawling, but discovery does not guarantee crawling or indexing.
This distinction is important when diagnosing traffic or indexing problems. A sitemap can be perfectly healthy while individual pages remain unindexed for unrelated reasons.
Use the Sitemap URL Checker to look for page-level signals such as redirects, 404 responses, noindex, and canonical conflicts. Then use Search Console's Page indexing report and URL Inspection for Google-specific indexing decisions.
A fast diagnostic checklist
Work through these in order:
- Confirm the exact submitted sitemap URL.
- Verify a direct successful HTTP response.
- Confirm the response is the sitemap XML, not an HTML challenge or error page.
- Validate the XML structure.
- Check sitemap and sitemap-index limits.
- Review
robots.txtfor blocking rules. - Check redirects and submit the final sitemap URL when possible.
- Review CDN, WAF, hosting, and rate-limit logs.
- Run Search Console URL Inspection Live test.
- If all technical checks pass, allow time for Search Console to process the sitemap rather than repeatedly changing a valid file.
The key is to diagnose what you can prove. Browser access proves that your browser can fetch the sitemap. A successful external checker proves another server can fetch and parse it. Only Google's own tools can confirm what Googlebot can fetch at that moment.